Here's another free PDF sewing pattern for women. This is a pattern for side tie top for women's bust sizes 30, 32, 34, 36, 38, 40, 42, and 44 (that is, sizes XS to XXL).
This sleeveless top features stylish side tie strings that can be fastened for an effortlessly cute and flattering look.
Layer it over a long top, shirt, or dress like a vest to instantly elevate your look with a chic, versatile touch.


Click the link below to browse all the free PDF sewing patterns for women:
Click the link below to browse all the free PDF sewing patterns for kids:
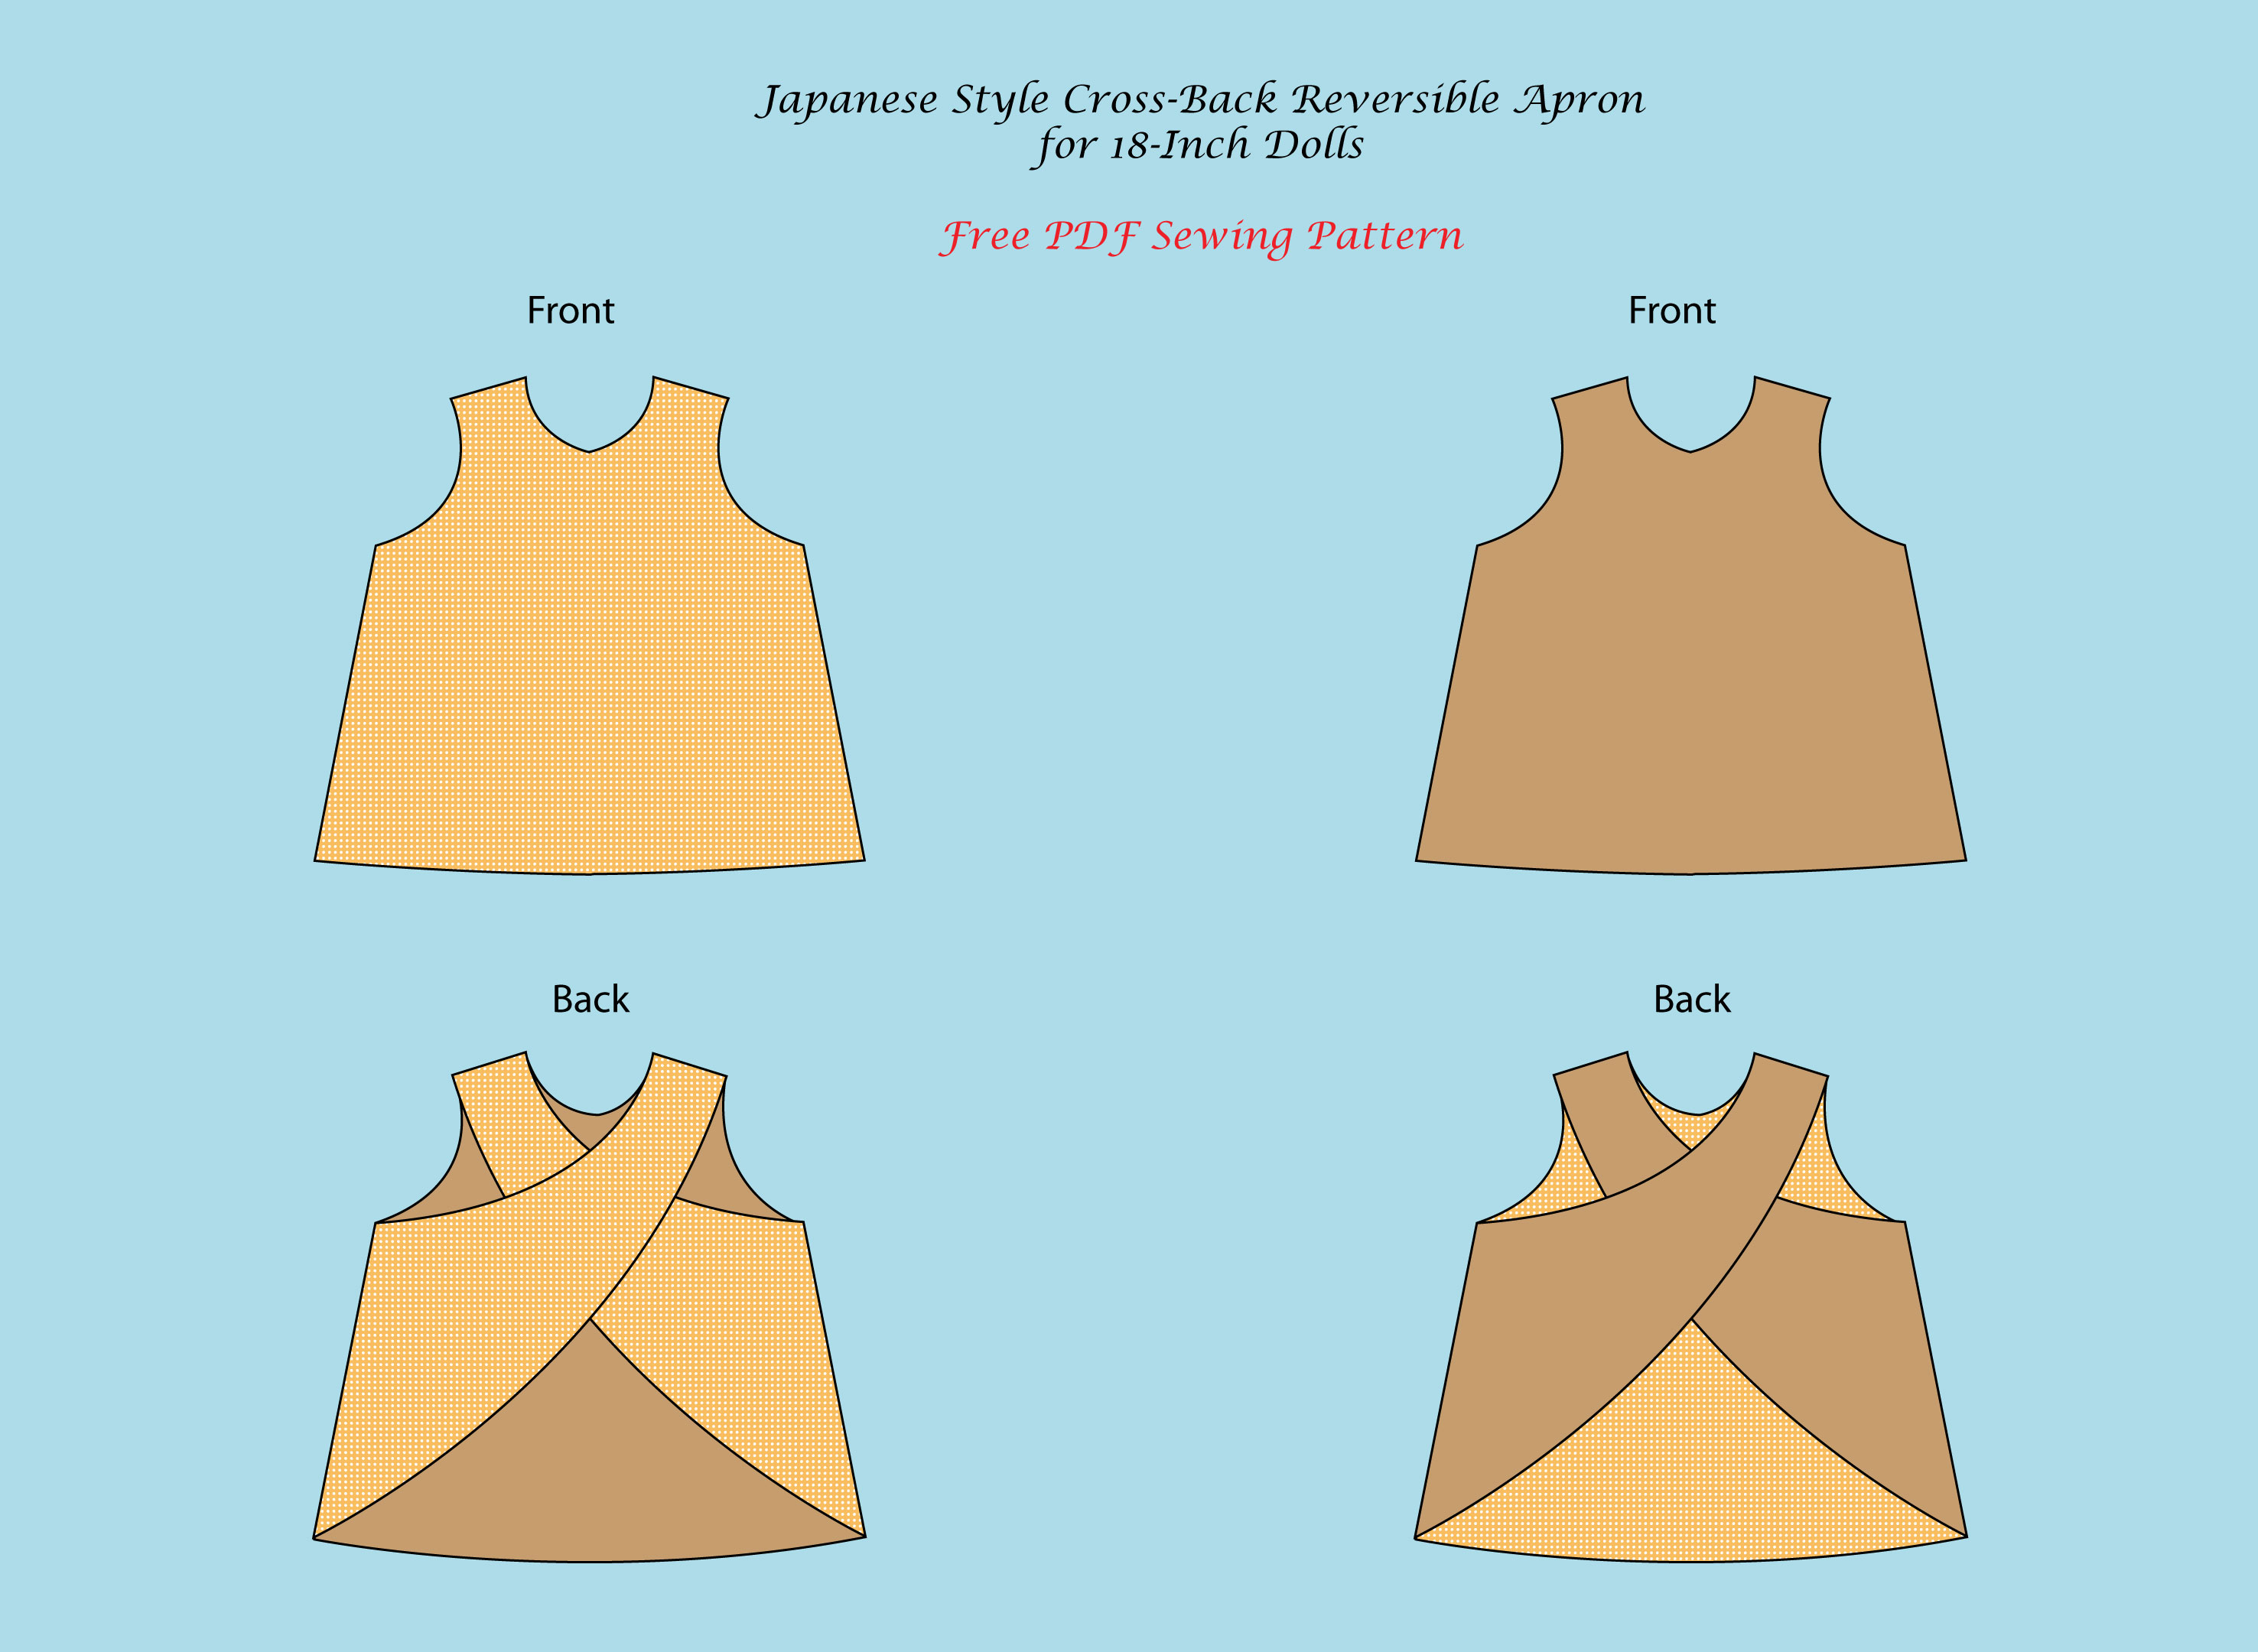
Click the link below to see the complete list of Free PDF Sewing Patterns for 18-Inch Dolls:
Click the link below to browse all the free PDF sewing patterns for women:
Click the link below to browse all the free PDF sewing patterns for kids:
Click the link below to see the complete list of Free PDF Sewing Patterns for 18-Inch Dolls:
This is the measurement chart I used to create this pattern. Please select your pattern size according to your bust size.
Seam allowances:
Seam allowances are included in the pattern.
Top's bodice part:
1/2 inch for the neck line and armhole
1/2 inch for the sides
3/4 inch at the hemline
Download link:
How to Print and Assemble the PDF Pattern Pages:
Supplies Needed:
1. Fabric
2. Measuring tape
3. Matching thread
4. Sewing machine
5. Scissors
6. Sewing pins
7. Fabric marker or pencil
8. Serger (optional)
How to Sew?
1. With right sides facing join the front and back bodices at the shoulders.
2. Finish the armhole with bias tape
3. Finish the sides. Start pinning a long bias tape to both sides of the top. While pinning it, sandwich fabric ties under the bias tape on each side and sew. Fold the bias tape to the wrong side and sew.
4. Sew the hemline of the top.
5. Finish the neckline by attaching bias tape.
Done!
Women's side tie ruffle hem top


Please check the link below to get some idea on how to attach the bias strips to the sides of the top, as well as the fabric ties.
You can completely hide the bias tape under, or you can use a contrast fabric as shown in the baby dress sewing tutorial.
You can attach the fabric ties in different ways you prefer. You can sandwich the fabric ties under the bias tape, and then fold down the bias tape; attach them after you have folded down and sewn the bias tape; or attach them on the outside over the bias tape. The design choice is up to you!
I will soon post a step-by-step picture tutorial.
Click on the link Free Sewing Patterns Page at the top of this blog page (under the blog title) to find more free sewing patterns.
Click the links below to browse through all the pattern drafting and sewing tutorials on my blog.
Happy sewing!
---Flora