While making a pair of elastic waist pants for my younger daughter, I made a sewing pattern in a range of sizes from 1 year to 12 years and wanted to share it with you all.


You can sew these pants in just 30 minutes. It's that easy.
I have made the pattern to be printed on both A4 papers and A0 paper.
Click the link below to browse all the free PDF sewing patterns for women:
Download link for A4 size pattern pages:
Kids' pants free PDF sewing pattern---A4 size pattern pages
Pattern Assembly:
Use the below diagram as a guide to assemble the pattern pages printed on A4-size papers.

Download link for A0 size pattern page:
Kids' pants free PDF sewing pattern---A0 size pattern page

How to Print?
Print the pages on A4-size papers. Make sure you have set page sizing to "Actual size" before you print the pattern.
Do not select the "Custom scale" option or the "Choose paper size by PDF page size" option.
You can measure the 1 inch x 1 inch square in the pattern page to check whether the page has printed correctly.
Check this tutorial on how to print and assemble the PDF pattern pages.
Seam and Hem allowances:
Seam and hem allowances are already included in the pattern. These are:
1.5 inches at the waist to make the casing for the elastic.
0.5 inches for the side seams.
3/8 inch for the crotch seam and inside leg seam (inseam).
1.25 inch for the bottom hem allowance.
Supplies:
1. Fabric. The fabric I used for this project was sourced from The Square Inch online store. You can find similar fabric from here in UK and here in the US.
2. Measuring tape
3. Matching thread
4. Elastic Width: 3/4 inch wide; Elastic Length: Measure your waist circumference and subtract 1 inch for a standard fit, or 2 inches if you prefer the waistband to fit more snugly.
5. Sewing machine
6. Scissors
7. Safety pin
8. Sewing pins
9. Fabric marker or pencil
10. Serger (optional)
This is the fabric I used to make the pants.

After printing and assembling the pattern pages, trace the pants front and back patterns on a tracing paper, and use these traced patterns to cut the patterns out from fabric.


Pants front

Pants back

Now, as we have our patterns cut out from fabric, let's start sewing the pants.
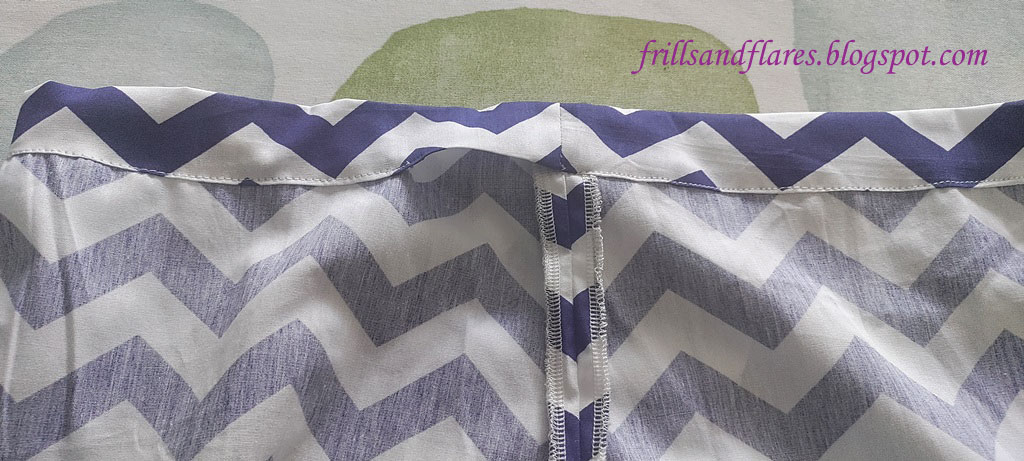
1. Join the sides.


If you want to make these pants in women's size, check the out the free PDF sewing pattern at the link below:
Women's Pants with Elasticated Waist---Free PDF Sewing Pattern and Sewing Tutorial

Also, check the below link for women's shorts free PDF sewing pattern:
Women's Shorts with Elasticated Waist---Free PDF Sewing Pattern and Sewing Tutorial

For your convenience, I’ve grouped my blog posts into the sections below—hope you find them helpful!
Happy sewing!
---Flora
14 comments:
What type of fabric did you use for this pattern. Is this for women’s or knits?
Hi Joy Lewis, I used cotton fabric to make this pair of pants. You can also use knit fabric to make these pants. This pattern is for kids' sizes 1 year to 12 years.
Hello! Could you please send me the elastic measurements for each size
Hi, I have provided the size chart for all the sizes (from 1 year to 12 years) in this post, where you can find the waist round measurement for each size. The length of the elastic for each size is waist round measurement for that size minus 1 inch. Hope this helps.
Seams allowances are included in the pattern? Thanks!
Hi! Yes, seam and hem allowances are included in the pattern, and I have mentioned them in this blog post under the heading "Seam and Hem Allowances"
Bonjour, vous posez les patrons sur le tissus endroit ou envers avant de découper. Merci
Bonjour, il faut placer les patrons sur l'endroit du tissu avant de couper. J'espère que cela vous aidera.
Hi! Thanks so much for the pattern! Do you think it could be made with heavier fabrics too, for the winter?
Hi, Yes, the pattern can be made with heavier fabrics, but you’ll want to adjust it slightly. Heavier fabrics have less drape and add more bulk, which can make the pants feel tighter than the same size in lighter fabric. To compensate, size up or add a little extra ease—about 0.5–1 cm at the hips, thighs, and crotch. Also, reduce bulk in the seams and consider adding a lining for warmth and comfort.
Another win from Fithub Fashion! These Loose Fit High-Rise Wrinkle Free Trousers are exactly what I needed - comfortable, stylish, and practical. Will be buying more colors!
great article
I am happy to find this post Very useful for me, as it contains lot of information. I Always prefer to read The Quality and glad I found this thing in you post. Thanks
regular length scrub pants women’s
Wow, What an Outstanding post. I found this too much informatics. It is what I was seeking for. I would like to recommend you that please keep sharing such type of info. If possible, Thanks.
EPIC by IRG scrubs
Post a Comment