Today I would like to guide you through the step-by-step sewing tutorial for the free Bermuda shorts PDF sewing pattern for 18-inch dolls I have posted here.


Click the link below to browse all the free PDF sewing patterns for women:
How to cut the pattern pieces?
Print out the pattern on an A4 paper and cut out your pattern pieces.

Here's how you cut out the pattern pieces from the fabric.
Place your shorts back pattern on the fabric and cut for the left side.

Flip the paper pattern on the fabric and cut for the right side.

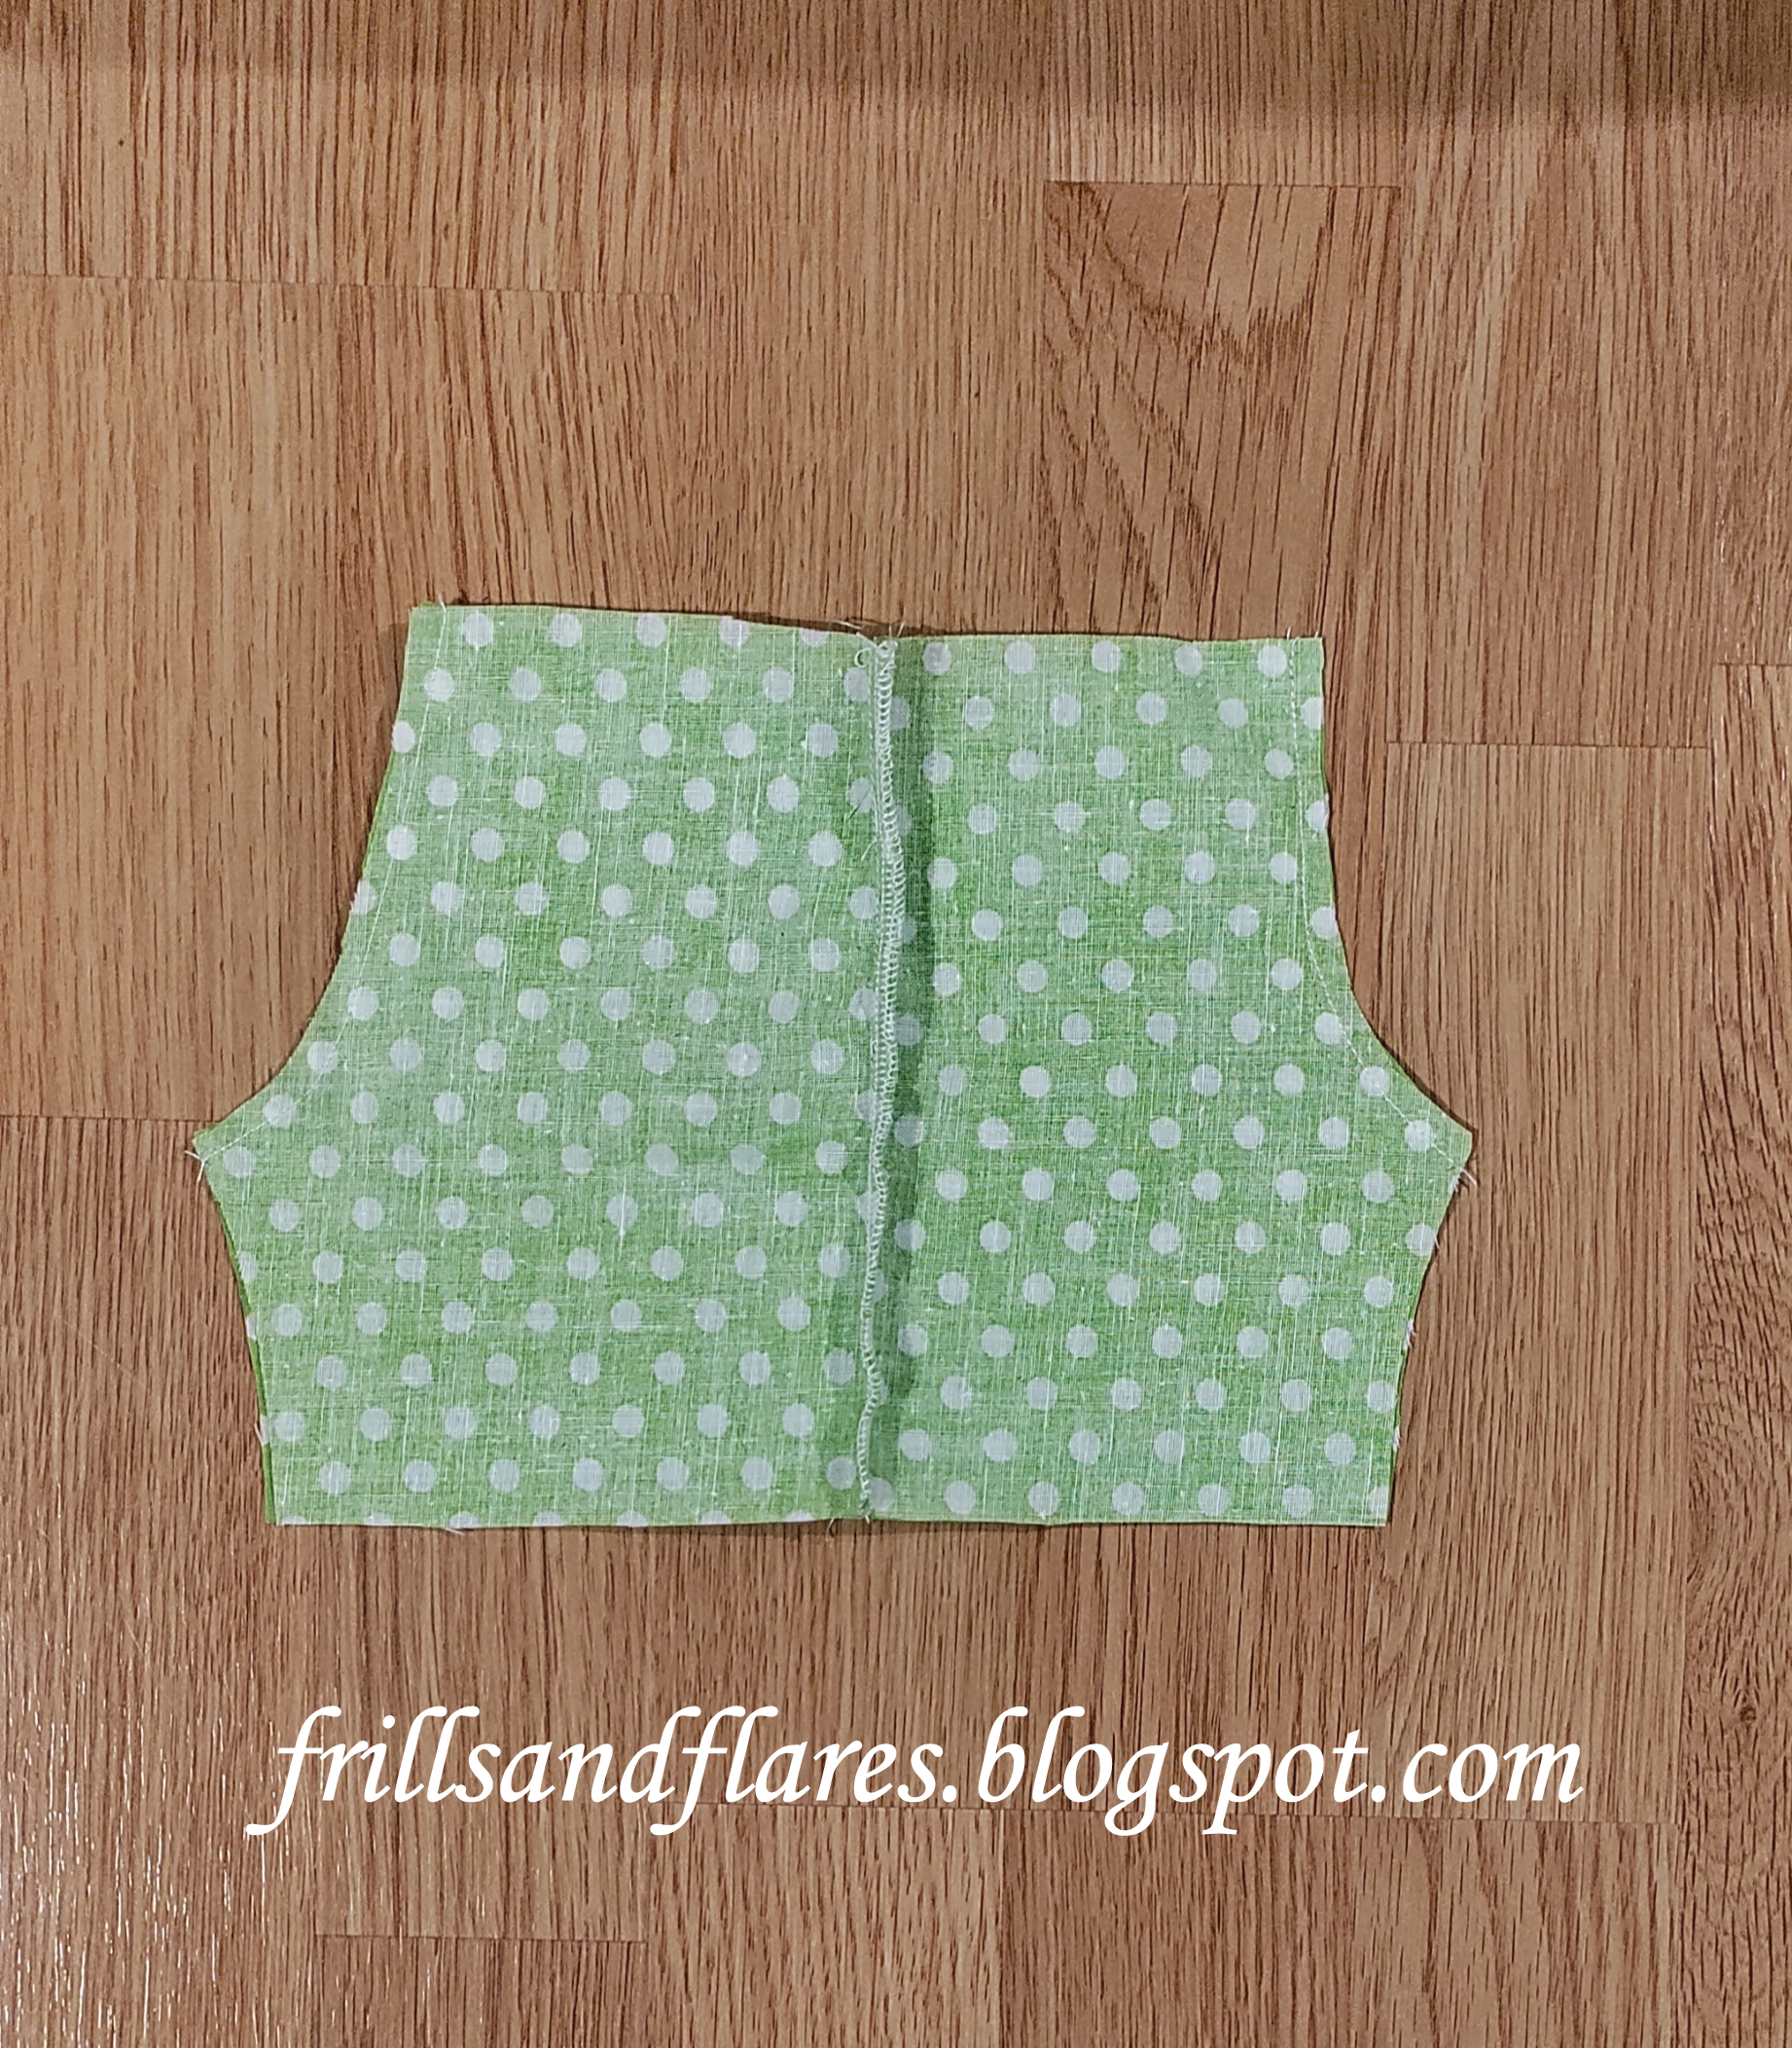
Lay out the shorts front and back pattern pieces cut from the fabric like this:

How to sew the shorts?
Let's start sewing.
Step 1: Join the sides.

Place the front and back fabric pieces (both the left and right) right sides together, and join the sides of the shorts (with a 0.25-inch seam allowance). Finish the seam edges with a serger, or clip the seam edges with pinking shears.
You can also serge the seam edges before joining the pieces. and after sewing them together, you can open the seams and press them flat... You can do whichever way you prefer.

Step 2: Join the crotch seams.
After joining the side seams, place the fabric pieces like so, with right sides facing each other.

Make sure you align the front pieces together (the seam line shown in blue in the image) and the back pieces together (the seam line shown in red in the image). Now sew over these seam lines (with a 0.25-inch seam allowance). These are called the center seams or crotch seams. Stop at the bottom of the crotch seams and leave the leg seam open.


Step 3: Join the leg seams.
Pin the the leg seams together and sew (with a 0.25-inch seam allowance) as shown in the image below.


Fold the right leg hemline 0.25 inch inward and press.


Then fold again 0.5 inch inward and press.

Sew along the folded edge. Repeat the same steps for the left leg.

Step 5: Create a casing at the waistline and insert the elastic.
Fold the waistline down by 0.25 inch and again by 0.50 inch.


Sew along the folded edge leaving a 2-inch gap to insert the elastic.

Take a 3/8-inch-wide, 10-inch-long elastic.

Insert the elastic through the casing using a safety pin, Overlap the edges by 0.25 inch, and secure the ends of the elastic by running zig-zag stitches over it a few times. Then, sew the 2-inch gap closed.
Turn the shorts inside out.
Now you have made a beautiful pair of shorts for your little girl's doll.

I have posted lots of free PDF printable sewing patterns on this page on my blog. Browse through this page to find the patterns you are looking for. You can download and use them to make your own clothes.
Happy sewing!
---Flora
1 comment:
I've read your blog. Honestly I've never read this type of blog before. Appreciate your work and will love to read your incoming articles too.
We provide monogram digitizing service that can also fulfill your embroidery needs.
Post a Comment