


Front

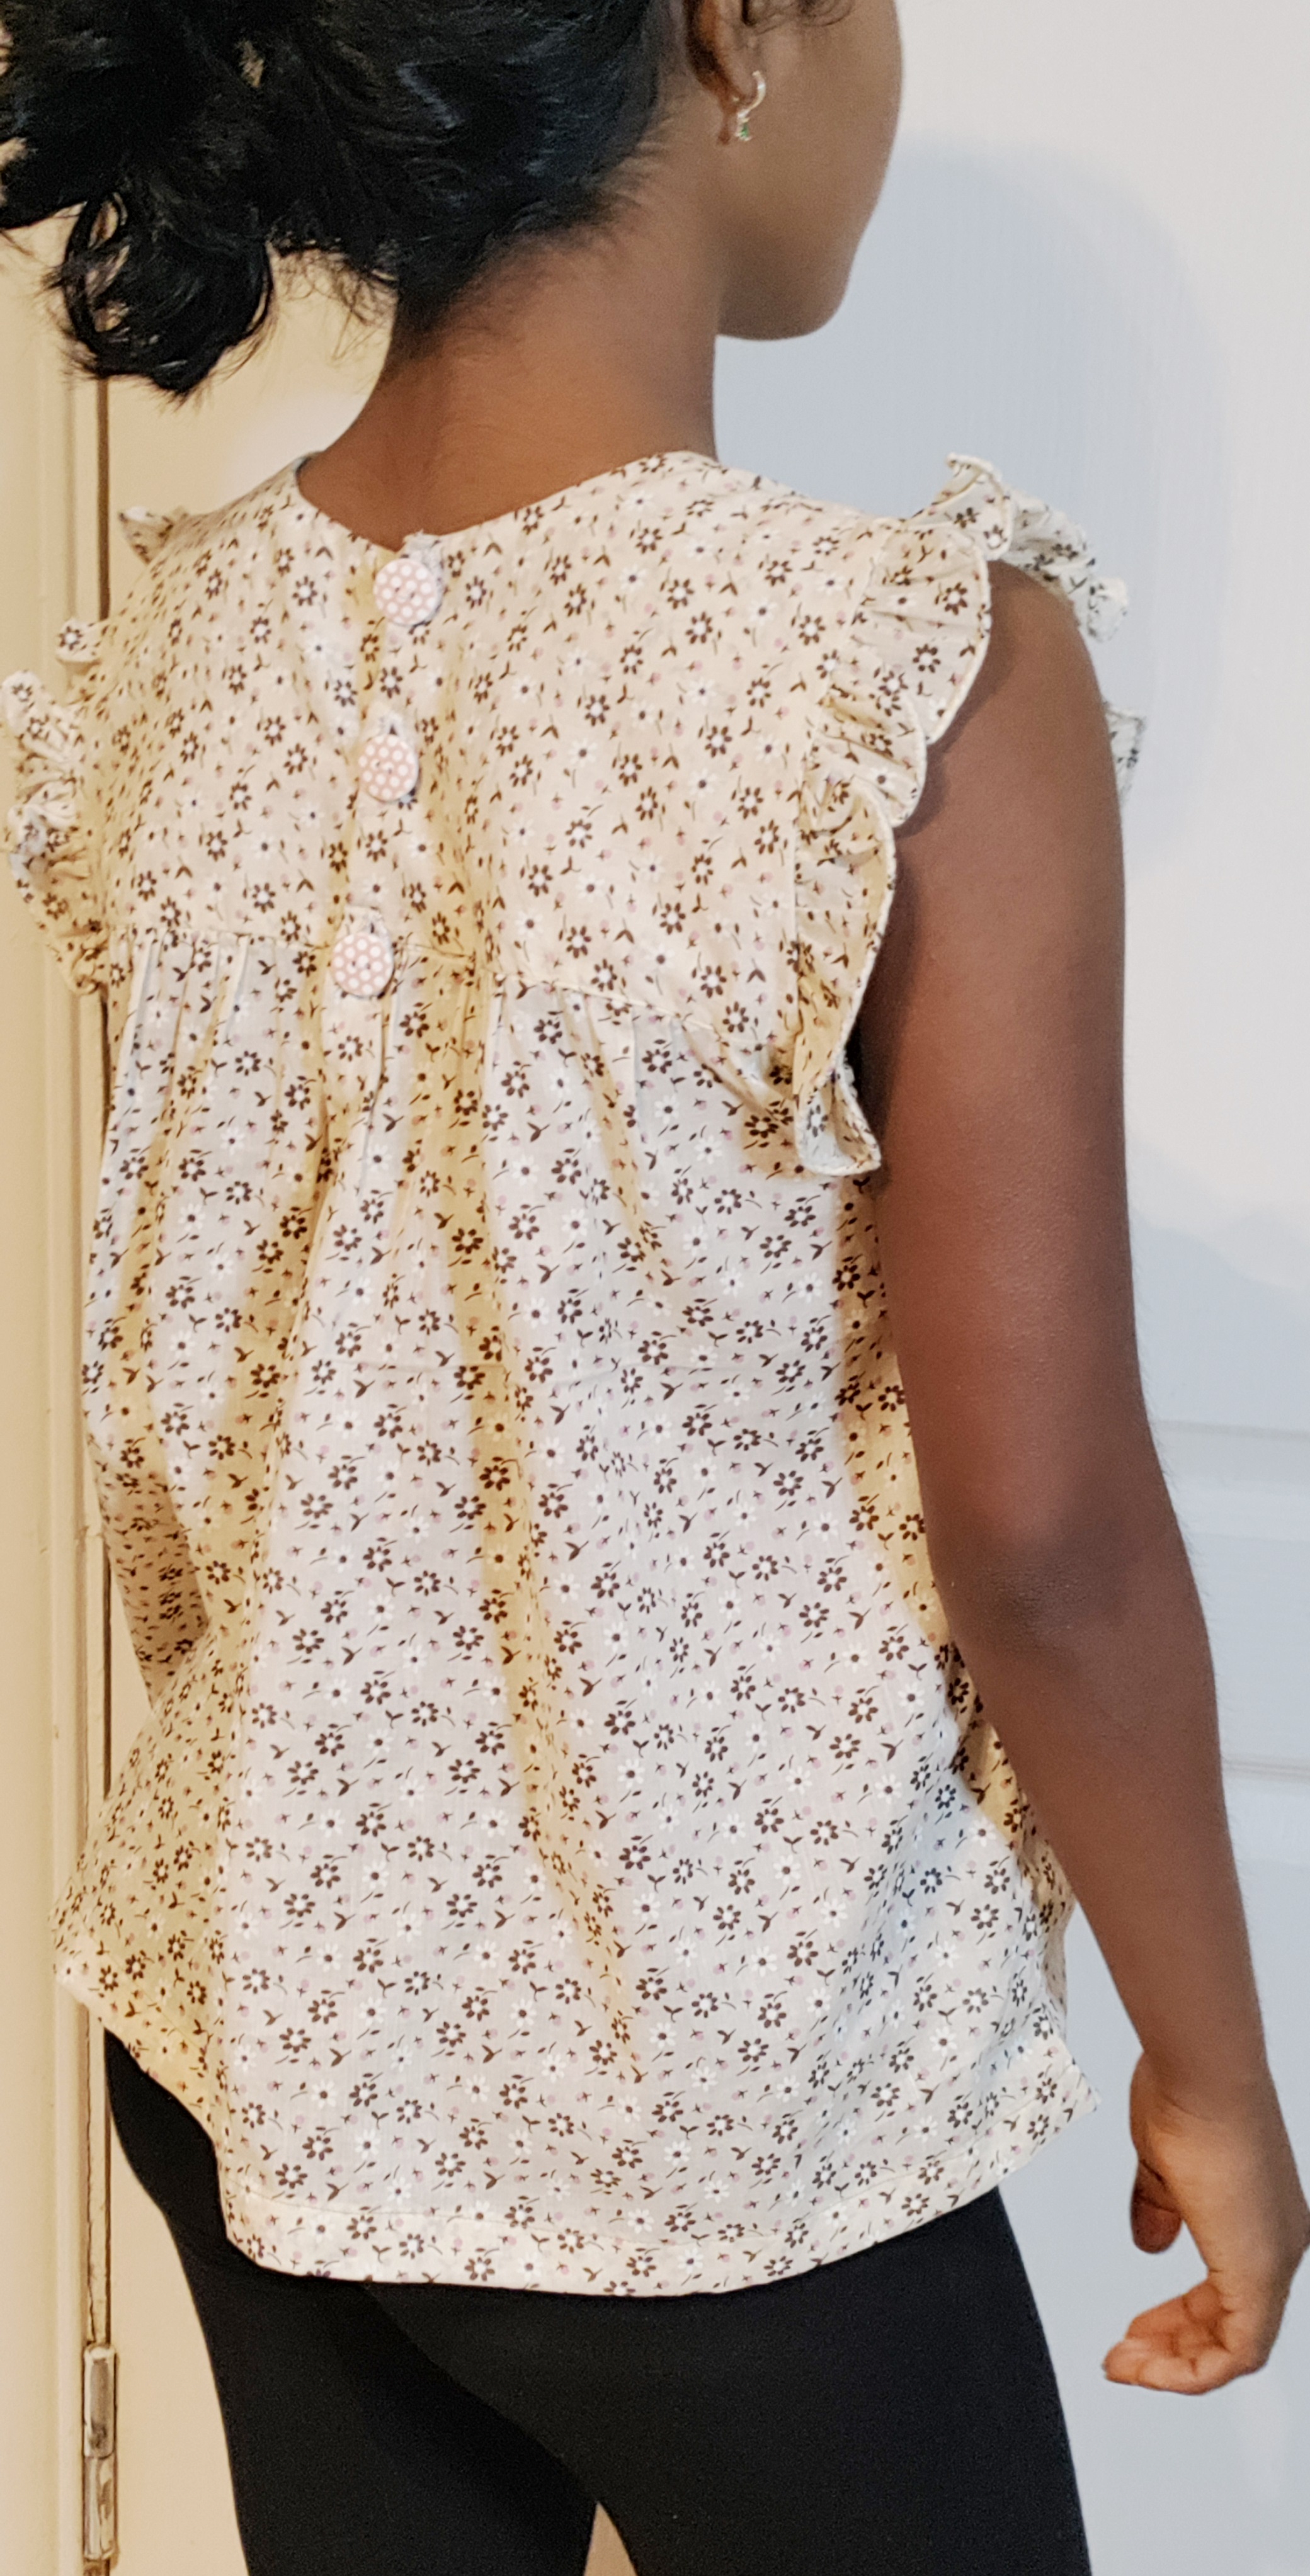
Back

Click the link below to browse all the free PDF sewing patterns for women:
Click the link below to browse all the free PDF sewing patterns for kids:
Click the link below to see the complete list of Free PDF Sewing Patterns for 18-Inch Dolls:
In this method we will sew the top without using a serger. Let's see how to do it.
Front and back yoke pieces cut with the outer fabric and lining fabric

Front skirt

Back skirt

Sleeves

Bias strips for armhole

Step 2: Let's start sewing.
Gather the top edge of the back and front skirts by sewing two straight lines of stitches parallel to the top edge, using the longest stitch length setting in your sewing machine.

Leave a few inches of threads at both the ends.

Then pull the threads to gather the fabric until the top edge of the skirt part is of the same width as the bottom edge of the yoke part. Use your fingers to distribute the gathers evenly across the seam.


Step 3: With right sides facing each other, join the top's front gathered part to the top's front yoke outer fabric and the top's back gathered part to the top's back yoke outer fabric with a 0.375-inch (0.9525-cm) seam allowance.

Step 4: Then, with right sides facing, join the shoulders of the front and back yoke outer fabrics.

And then repeat this step for the front and back yoke lining fabrics.

Step 5: We will make the ruffled sleeves now.
You can finish the hemline of the sleeves by folding it or by doing a rolled hem by hand or machine. I did the rolled hem by hand. I will soon post a tutorial on how to do rolled hem by hand.

Sew two parallel rows of stitches around the sleeve cap (the curved edge of the sleeve) (I did only one row here as I couldn't manage to sew the second row!) Use the longest stitch in your sewing machine. Leave a few inches of thread at both the ends of the sleeve cap. Pull them to create ruffles until the sleeve cap matches the top's arm hole.

With right sides facing each other, pin the sleeves to the armholes of the outer fabric and then sew them in place.


Step 6: Then place the lining fabric over this, with right side facing down.
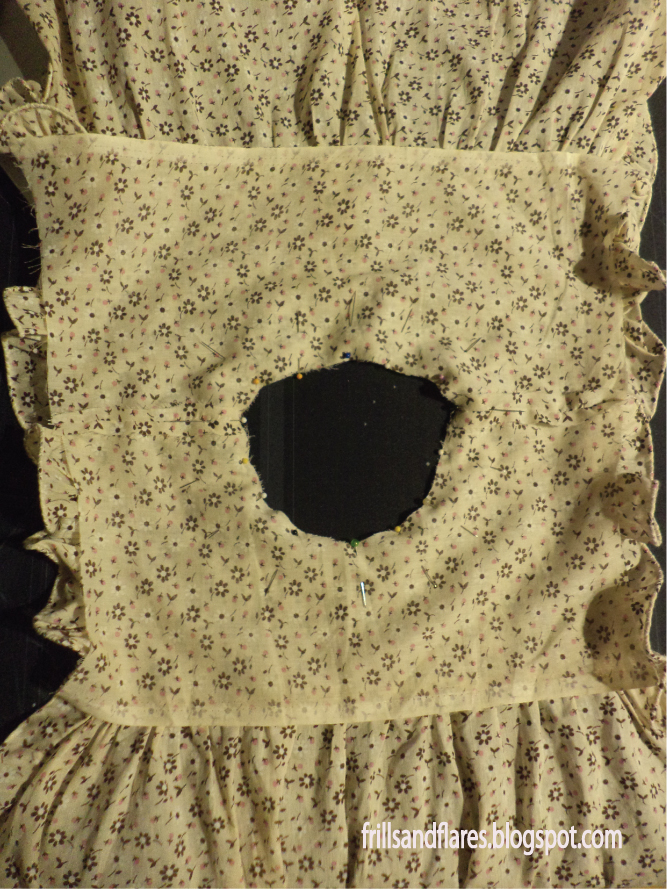
Match the necklines of the outer and lining yoke fabrics. Pin and sew together.

Make small slits in the neck seam allowance as shown below, to get a perfect neckline.


Step 7: Fold the hemline of the yoke lining fabric by 0.375 inch.


Step 8: Burrito roll method to finish the armholes:
Start rolling the fabric from the left side armhole until you reach the right side armhole.


Tuck in the sleeve inside and sandwich the sleeve cap in between the armholes of the yoke's outer and lining fabrics. Sew them all together.

Hope you can see it clearly in the below pictures.


The armhole will have a clean finish like this on the right side as well as on the wrong side.

Repeat these steps for the other armhole, this time rolling from right to left.


Step 9: Join the sides.
Join the sides with an 0.75-inch seam allowance.

We will now conceal the raw edges by opening the seam allowance and pressing them.

Then fold them inward by 0.375 inch and press.

Bring the edges close together and sew along the edge to like so.

This is how your side seams look like with the raw edges hidden inside.

Step 10: Attach bias strips to the armhole under the yoke line.
Now, we need to cover the raw edges of the armhole under the yoke line.
To do this, first take a 1.5-inch-wide bias strip. Fold one edge of the bias tape 1/4 inch inward and sew along the folded edge. Next, we will attach the raw edge of the bias strip to the raw edge of the armhole part on the outside the main fabric under the yoke line, with a seam allowance of 3/8 inch. Fold the bias tape entirely inside and sew along the folded edge.
We need to hide both the ends of the bias strip under the yoke lining fabric before the yoke hemline is closed.
(If you don't want to use the burrito roll method for the armholes, you can finish the entire armhole using the bias strips.)
Now sew the hemline of the yoke lining fabric closed at the yoke line to conceal the raw edges of the yoke main fabric and the top's gathered front main fabric.
Step 11: Finish the hemline of the top.
Fold the hemline 0.25 inch. Then fold again 0.50 inch and sew over the folded edge.
Step 12: Insert button and buttonhole plackets at the center back of the top.
First we need to decide how long we want the slit to be.
Measure your kid's head circumference.
Then measure the front and back neckline of the top and add the measurements together. If this total neckline measurement is lesser than your kid's head circumference measurement, then decide the slit length accordingly to avoid the neckline being too tight when popping the top over the head.
For example, my kid's head circumference is 22 inches and the front + back neckline measurement is 17.5 inches. I have kept the slit length to 7 inches (which means 7 inches on the button placket side and 7 inches on the buttonhole placket side) to easily pop it over the head and take out.


Next we will attach a continuous bound placket for adding in the buttons and buttonhole.
The placket's length is twice the slit length plus a few inches for folding at the top. Mine was 17 inches long. Width was 2 or 2.5 inches. I was running out of the fabric. So, I joined small pieces of the main fabric to get the 17-inch-long placket piece.
With the right side of the placket facing the wrong side of the slit. We will start 0.25 inch away from the top of one side of the slit and come down closer to the V point of the slit and then go up and end 0.25 inch away from the top of the other side of the slit.


Now flatten the seam, fold the outer edge of the placket to the right side of the fabric by 0.25 inch and then fold again to cover the seam line on the slit.


On the right side of the top, fold the placket inside. This is where we will sew the buttonholes.
On the left side the placket, we will sew the buttons.
Turn it to the wrong side. At the V end of the placket join the plackets diagonally like so, to keep them in place.

Let's sew in the buttons and buttonholes.

And hurrah! We have made a new breezy summer top with a clean finish without a serger.


Happy sewing! I will see you all soon with yet another tutorial or free pattern.
I have posted lots of free PDF printable sewing patterns on this page on my blog. Browse through this page to find the patterns you are looking for. You can download and use them to make your own clothes.
You can also click the Free Sewing Patterns Page at the top of this blog page (under the blog title) to find more free sewing patterns.
Click the below links to browse through all the pattern drafting and sewing tutorials on my blog.
---Flora
1 comment:
Hello! I found your emphasis on finishing techniques, like enclosing raw edges and using bias strips, particularly valuable. It gives the final product a polished look, and your use of pictures at each step helps visualize the entire sewing journey. And the final result turned out so cute and polished, given that you didn't used serger, just a sewing patterns!
Post a Comment